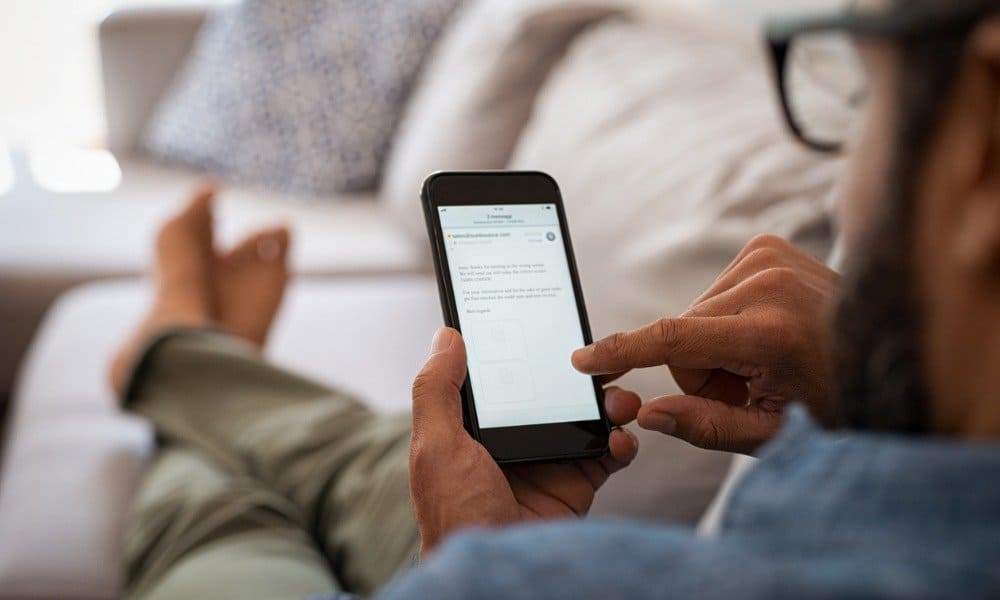
For many of us, our iPad is our go-to device for checking email. So, it only makes sense that we would want to set up webmail on our iPad. Here’s a step-by-step guide on how to do just that:
1. Open the Settings app on your iPad and tap “Mail, Contacts, Calendars.”
2. Tap “Add Account” and then select “Other.”
3. Choose “Add Mail Account.”
4. Enter your name, email address, password, and a description of the account. Then tap “Next.”
5. Select IMAP or POP for your incoming mail server type.
Enter the information for your incoming mail server and then tap “Next.”
6. Enter the information for your outgoing mail server and then tap “Save.”
And that’s it!
You should now be able to check your webmail on your iPad whenever you want!
- Go to Settings and select Mail, Contacts, Calendars
- Select Add Account under the Accounts section
- Choose Other from the list of account types
- Enter your full email address and password in the appropriate fields and then select Next
- Select IMAP under the Incoming Mail Server section and enter imap
- yourdomainnamegoeshere in the Host Name field (replacing “yourdomainnamegoeshere” with your actual domain name)
- Leave the User Name and Password fields blank unless your hosting provider requires you to use a specific username and password for IMAP access (which is rare)
- Then select Next at the top right of the screen again
- 6
- Scroll down to the Outgoing Mail Server Settings section and enter smtp
- yourdomainnamegoeshere in the Host Name field (replacing “yourdomainnamegoeshere” with your actual domain name)
- If your hosting provider requires you to use a specific username and password for SMTP access, enter those details in the corresponding fields; otherwise, leave them blank
- 7
- Select Save at the top right of the screen when finished
Ipad Email Problems
If you’re having email problems with your iPad, there are a few things you can try to fix the issue. First, make sure that your email account is set up correctly on your iPad. To do this, go to Settings > Mail, Contacts, Calendars and select your email account.
If the settings are incorrect, you may not be able to send or receive emails.
Next, check to see if the problem is with the email server by trying to access your email account from another device or computer. If you can’t access it from another device, the problem is likely with the server and you’ll need to contact your email provider for help.
If you can access your email account from another device but not your iPad, there may be an issue with the mail app on your iPad. Try deleting and re-adding the account in Settings > Mail, Contacts, Calendars. You may also want to try resetting your iPad altogether if this doesn’t work.
Go to Settings > General > Reset and select “Erase All Content and Settings.” This will delete all of the data on your iPad so backup any important files beforehand!
How Do I Add an Email Address to My Phone
Assuming you would like a blog post discussing how to add an email address to a phone:
“How Do I Add an Email Address to My Phone”
Almost all smartphones nowadays come with the ability to connect to email.
This is great for keeping in touch with work, family, and friends, but can be tricky to set up if you’ve never done it before. In this article, we’ll walk you through the process of adding an email address to your phone step-by-step. By the end, you’ll be able to check your email on the go!
The first thing you need to do is choose which email service you want to use. The most popular options are Gmail and Yahoo Mail, but there are many others out there as well. Once you’ve decided on an email provider, open up their website on your computer and create an account if you don’t already have one.
Make sure to write down your password in a safe place so you don’t forget it!
Now that you have an account set up, it’s time to configure it for your phone. The steps for this will vary depending on what type of phone you have, but we’ll provide instructions for both iPhone and Android devices below.
For iPhones:
Go into the Settings app and scroll down until you find the “Mail” option near the bottom. Tap on it and then select “Add Account.”
You should see a list of different types of accounts that can be added here – choose “Other” at the bottom.
On the next screen, select “Add Mail Account.” Now enter in your name, email address, password (which should be filled in automatically if you’re using iCloud Keychain), and a description of the account.
Once everything looks correct, tap “Next.”
Your iPhone will now try to automatically configure your account settings – if successful, tap “Done” when prompted and skip ahead to step 5 below. If not successful (which sometimes happens with certain mail providers), continue with these instructions:
Choose IMAP or POP – either one will work fine for most people.
How to Set Up Email on Iphone
Assuming you would like a blog post titled “How to Set Up Email on iPhone”:
Setting up email on your iPhone is a pretty simple process. Here’s how to do it:
1. Open the Settings app and scroll down to the Passwords & Accounts section.
2. Tap Add Account, then select your email provider from the list. If you don’t see your email provider, tap Other to add a POP3 or IMAP account.
3. Enter your email address and password, then tap Next. Your iPhone will try to find the settings for your email account and finish setting up your account automatically. If it can’t find your settings, you’ll need to enter them manually:
4. If you need to enter your account settings manually, tap Mail > Accounts > Add Account, then tap Other at the bottom of the screen.. Then follow these instructions:
a) Choose IMAP or POP for incoming mail server type.
b) Enter the information for Incoming Mail Server and Outgoing Mail Server under Mailserver Settings into their respective fields (for more detailed instructions look here).
c) For Description field, enter any name that will help you identify this email account (e.g., work vs home).
d) Tap Save when finished making changes in order setup process screens.
Mail Settings Iphone
Assuming you would like a blog post discussing the mail settings on iPhone:
The Mail app on your iPhone is the default way to check your email, whether it’s an iCloud account, Google account, Yahoo account, or something else. You can also add other email accounts to the Mail app on your iPhone.
To adjust your mail settings on your iPhone, open the Settings app and tap Passwords & Accounts, then select your email account. From there, you can change things like how often the Mail app fetches new data from your email server, what kind of alerts you get for new emails (sound alerts, badge app icon alerts, or both), whether to show message previews in the list of emails (and how many lines of each message to show), and more.
You can also choose which folders in your email account’s inbox you want to see in the Mail app by tapping Account > Folder Settings.
For example, if you only want to see messages in your Inbox and not any messages in subfolders beneath it, you can turn off Subscribed Folders under Folder Settings.
These are just some of the options available for adjusting the mail settings on your iPhone!
Iphone Mail Login
Assuming you would like a blog post discussing the process of logging into an iPhone via the Mail app:
When you first get your new iPhone, one of the first things you’ll want to do is set up your email. Luckily, this process is pretty straightforward and only takes a few minutes.
Here’s how to do it:
1. Open the Settings app on your iPhone and scroll down to the Passwords & Accounts section.
2. Tap on Add Account and select your email provider from the list.
If your email provider isn’t listed, tap Other to enter your account information manually.
3. Enter your email address and password, then tap Next.
4. Your iPhone will now try to connect to your email server and fetch your messages.
Once it’s done, you’ll be able to see all of your emails in the Mail app!

Credit: www.groovypost.com
How Do I Set Up Webmail on My Ipad?
Assuming you would like step-by-step instructions on how to set up webmail on your iPad:
1. On your device, open the Settings app and scroll down to find the Passwords & Accounts category.
2. Tap Add Account, then select your email service provider (ESP) from the list.
For example, if you’re setting up a Gmail account, tap Google.
3. Enter your full email address and password, then tap Next in the upper right corner of the screen. If prompted, enter any additional information required by your ESP and tap Next again.
4. Choose which services you’d like to enable for this account and tap Save when finished. That’s it! Your new account should now be visible in the Mail app on your device.
Does Apple Have Webmail?
No, Apple does not offer webmail services. If you want to use email with your Apple device, you’ll need to set up an account with a third-party provider like Gmail, Outlook, or Yahoo.
Does Mail Com Work on Ipad?
Mail.com is a popular email service that offers users a unique and personalized email experience. The service is known for its high-quality features and ease of use. Mail.com also offers a mobile app for iOS devices, including the iPad.
The Mail.com app for iPad provides all of the same great features as the desktop version of the service. Users can easily access their inboxes, compose new emails, manage their contacts, and more. The app also supports push notifications, so users can be notified of new messages as they arrive.
Overall, the Mail.com app for iPad is a great way to stay connected with your email on the go. If you’re looking for an email service that works well on your iPad, Mail.com is definitely worth considering.
Can You Add Webmail Account Iphone?
There are a few different ways that you can add a webmail account to your iPhone. One way is to use the built-in Mail app that comes with the iPhone. To do this, open the Mail app and tap on the “Add Account” option.
From here, you will be able to select your email provider and enter your login credentials. Another way to add a webmail account to your iPhone is to use a third-party email app such as Outlook or Gmail. These apps will usually have their own setup process that you will need to follow in order to add your account information.
Once you have added your account details, you should be able to access your webmail from these apps just like you would from a desktop computer.
How to set up email on your iPad
Conclusion
Assuming you would like a summary of the blog post titled “How to Set Up Webmail on iPad”:
The process for setting up webmail on your iPad is relatively simple and only requires a few steps. Once you have your email account information handy, you can begin the process by opening the Settings app and navigating to the Mail, Contacts, Calendars section.
From there, tap on Add Account and select Other from the list of options. Next, enter your name, email address, password, and a description for the account. After that’s been taken care of, simply click Save and your account will be all set up!


